
- Tire Pressure Monitoring
- Battery Life
- Brand
- Connectivity
- Frequency
- Material
- Abs (16)
- Abs, Aluminium (11)
- Aluminium (13)
- Aluminium, Abs (3)
- Aluminium, Plastic (97)
- Aluminum (2)
- Bmw (3)
- Metal (95)
- Metal Valve (17)
- Metal, Plastic (24)
- Mixed (3)
- Pc+pa (19)
- Plastic (40)
- Plastic + Metal (3)
- Plastic, Metal (6)
- Plastic, Rubber (14)
- Pp, Metal (2)
- Rubber (56)
- Stainless Steel (6)
- Standard (49)
- Other (2805)
- Obd Interface
100 Autel TPMS MX-Sensor 315MHz & 433MHz Programmable Auto Tire Pressure Sensor
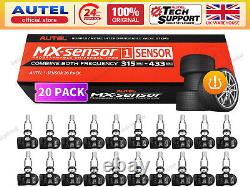

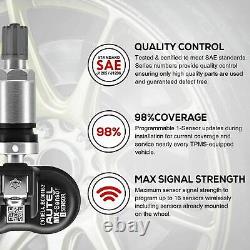


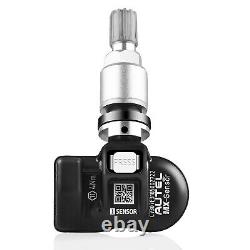
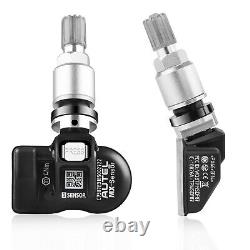
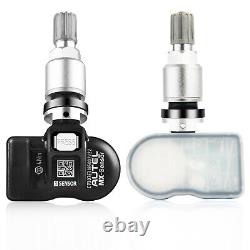
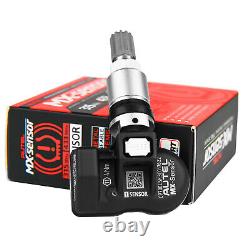
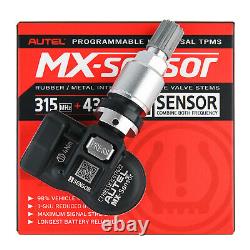
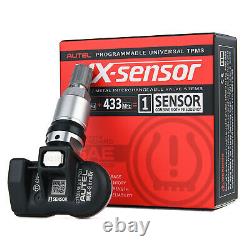


100 Autel TPMS MX-Sensor 315MHz & 433MHz Programmable Auto Tire Pressure Sensor. Autel MaxiTPMS 2in1 MX Sensor Metal Stem 315MHz &433Mhz TPMS Sensor Universal Tire Sensor Programmable TPMS Tool work for TS401 TS408 TS501 TS508 TS601 TS608 MK808TS MX808TS MS906TS ITS600. Greatly reduce sensor inventory investment with the 1-SKU Autel MX-Sensor 1-Sensor solution providing 98% vehicle coverage. MAXIMUM SIGNAL STRENGTH WIRELESS PROGRAMMING.
The extraordinary sensor signal strength allows AUTEL 1-Sensor to be easily programmed wirelessly even when the sensors have already been mounted to the wheel. And with strong signal strength, now up to 16 sensors can be programmed in one session with AUTEL latest TPMS tools. AUTEL MX-Sensor is 100% clone-able. No relearn is required when the MX-Sensor is cloned with the original sensor ID and put in the same position. The rubber and metal valve stems are interchangeable.
98% VEHICLE COVERAGE LIMITED 1-SKU INVENTORY. An easy-to-use and cost-effective necessity for any shop performing TPMS repairs, the Autel 1-SKU sensor inventory solution with 98% vehicle coverage eliminates the need for distributors to carry the hundreds of sensors to fulfill shop orders. On the shop level, needing only 1-Sensor to service nearly every TPMS equipped vehicle means lower repair cost and higher install efficiency. Programmable by Autel TPMS Tool. More Compatible Tools & Sensors.
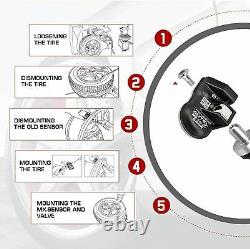
Easiest To Use Tool Navigation. Remove the valve cap and core and deflate the tire. Use the bead loosener to unseat the tire bead. CAUTION: The bead loosener must be facing the valve.Clamp the tire onto the tire changer, and adjust the valve at 1 o'clock relative to the tire separation head. Insert the tire tool and lift the tire bead onto the mounting head to dismount the bead.
3, Dismounting the sensor Remove the cap, nut, and washer from the valve stem, and then remove the sensor assembly from the rim. 4, Mounting sensor and valve. Firmly connect the valve stem and the sensor body. Note: ensure the assembly will not fall apart. Remove the cap, nut, and washer from the valve stem one by one. Slide the valve stem through the valve hole of the rim with the sensor on the inside of the rim, assemble the two parts back on the stem in the order of washer, nut. Tighten the nut with 4.0N·m with the help of the fixed rod, then assemble the cap back on the stem. Place the tire on the rim, make sure that the valve faces the separation head at an angle of 180 o. Mount the tire over the rim.CAUTION: The tire should be mounted to the wheel using tire changer manuf acturer's instructions. ·Operating Temperature: -40°C - 125°C. ·Storage Temperature: -40°C t - 125°C. ·Temperature Reading Range: -40°C - 125°C.
·G Sensor Reading Accuracy: ±15%. 42.424.116.0 mm. ·Weight of Sensor without Valve: 13g.

